
From Concept to Camera Roll: How to Plan a Successful Content Shoot
If you’ve ever found yourself staring at your phone thinking, “What do I even post today?” — you’re not alone. One of the biggest challenges businesses and creators face is staying consistent on social media without burning out. That’s where a content shoot comes in. Instead of scrambling for last-minute photos and videos, a content shoot helps you plan ahead, capture everything in one session, and walk away with weeks’ worth of content.
But successful shoots don’t just happen. They’re intentional. From brainstorming ideas to scouting locations and actually hitting record, planning is the difference between leaving with 5 usable photos or 50. Let’s break down how to go from concept to camera roll — and how to make your next shoot not just productive, but fun.
Step 1: Define Your Purpose
Every good content shoot starts with clarity. Ask yourself: Why am I doing this shoot?
Are you a business wanting to showcase products? A wedding vendor needing behind-the-scenes content? A personal brand aiming to connect more authentically with your audience? The purpose determines the tone, the visuals, and even where you shoot.
For example:
A boutique might need styled flat-lays, try-on videos, and lifestyle shots in-store.
A service provider could benefit from behind-the-scenes clips at work, detail shots of their tools, and a few personal lifestyle moments.
A creator might plan trendy Reels, voiceover clips, and “day in the life” videos.
Knowing your purpose keeps your shoot focused.
Step 2: Build a Concept
This is the fun part — brainstorming the creative direction. Your concept is the overall feel and message of your shoot. Do you want it to be clean and professional? Playful and colorful? Cozy and seasonal?
Your concept should tie back to your brand voice. If you’re a Michigan coffee shop, your concept might include latte art, cozy corners, and happy customers. If you’re a wedding content creator, the concept could focus on candid couple moments, flat-lay details, and fun clips with the bridal party.
Pro tip: Create a mood board on Pinterest or Canva with colors, poses, and vibes you want to capture.
Step 3: Write a Shot List
A shot list is your roadmap for the day. Without one, it’s easy to waste time and leave without the content you need.
Start by breaking your list into categories:
Photos – group shots, product close-ups, lifestyle moments.
Videos – Reels ideas, TikTok trends, testimonials.
B-roll – filler clips like walking, hands typing, coffee being poured.
A solid shot list doesn’t have to be complicated. Example:
“Clip of me walking into my studio.”
“Close-up of product with hands holding it.”
“Laughing with team at coffee shop.”
Think in terms of variety: wide shots, medium shots, close-ups, stills, and movement.
Step 4: Pick Your Locations
The right backdrop can make all the difference. You don’t always need a fancy studio — often the best content comes from everyday spots that feel authentic.
Here are some ideas:
Free options in Grand Rapids: downtown murals, Riverside Park, cozy coffee shops.
Studios: spaces like Somewhere Haus in GR offer curated backdrops, furniture, and natural light.
At home: a simple wall, styled corner, or kitchen counter can become the perfect set.
The key is variety. Even if you only shoot in one space, move around to get multiple backdrops and vibes.
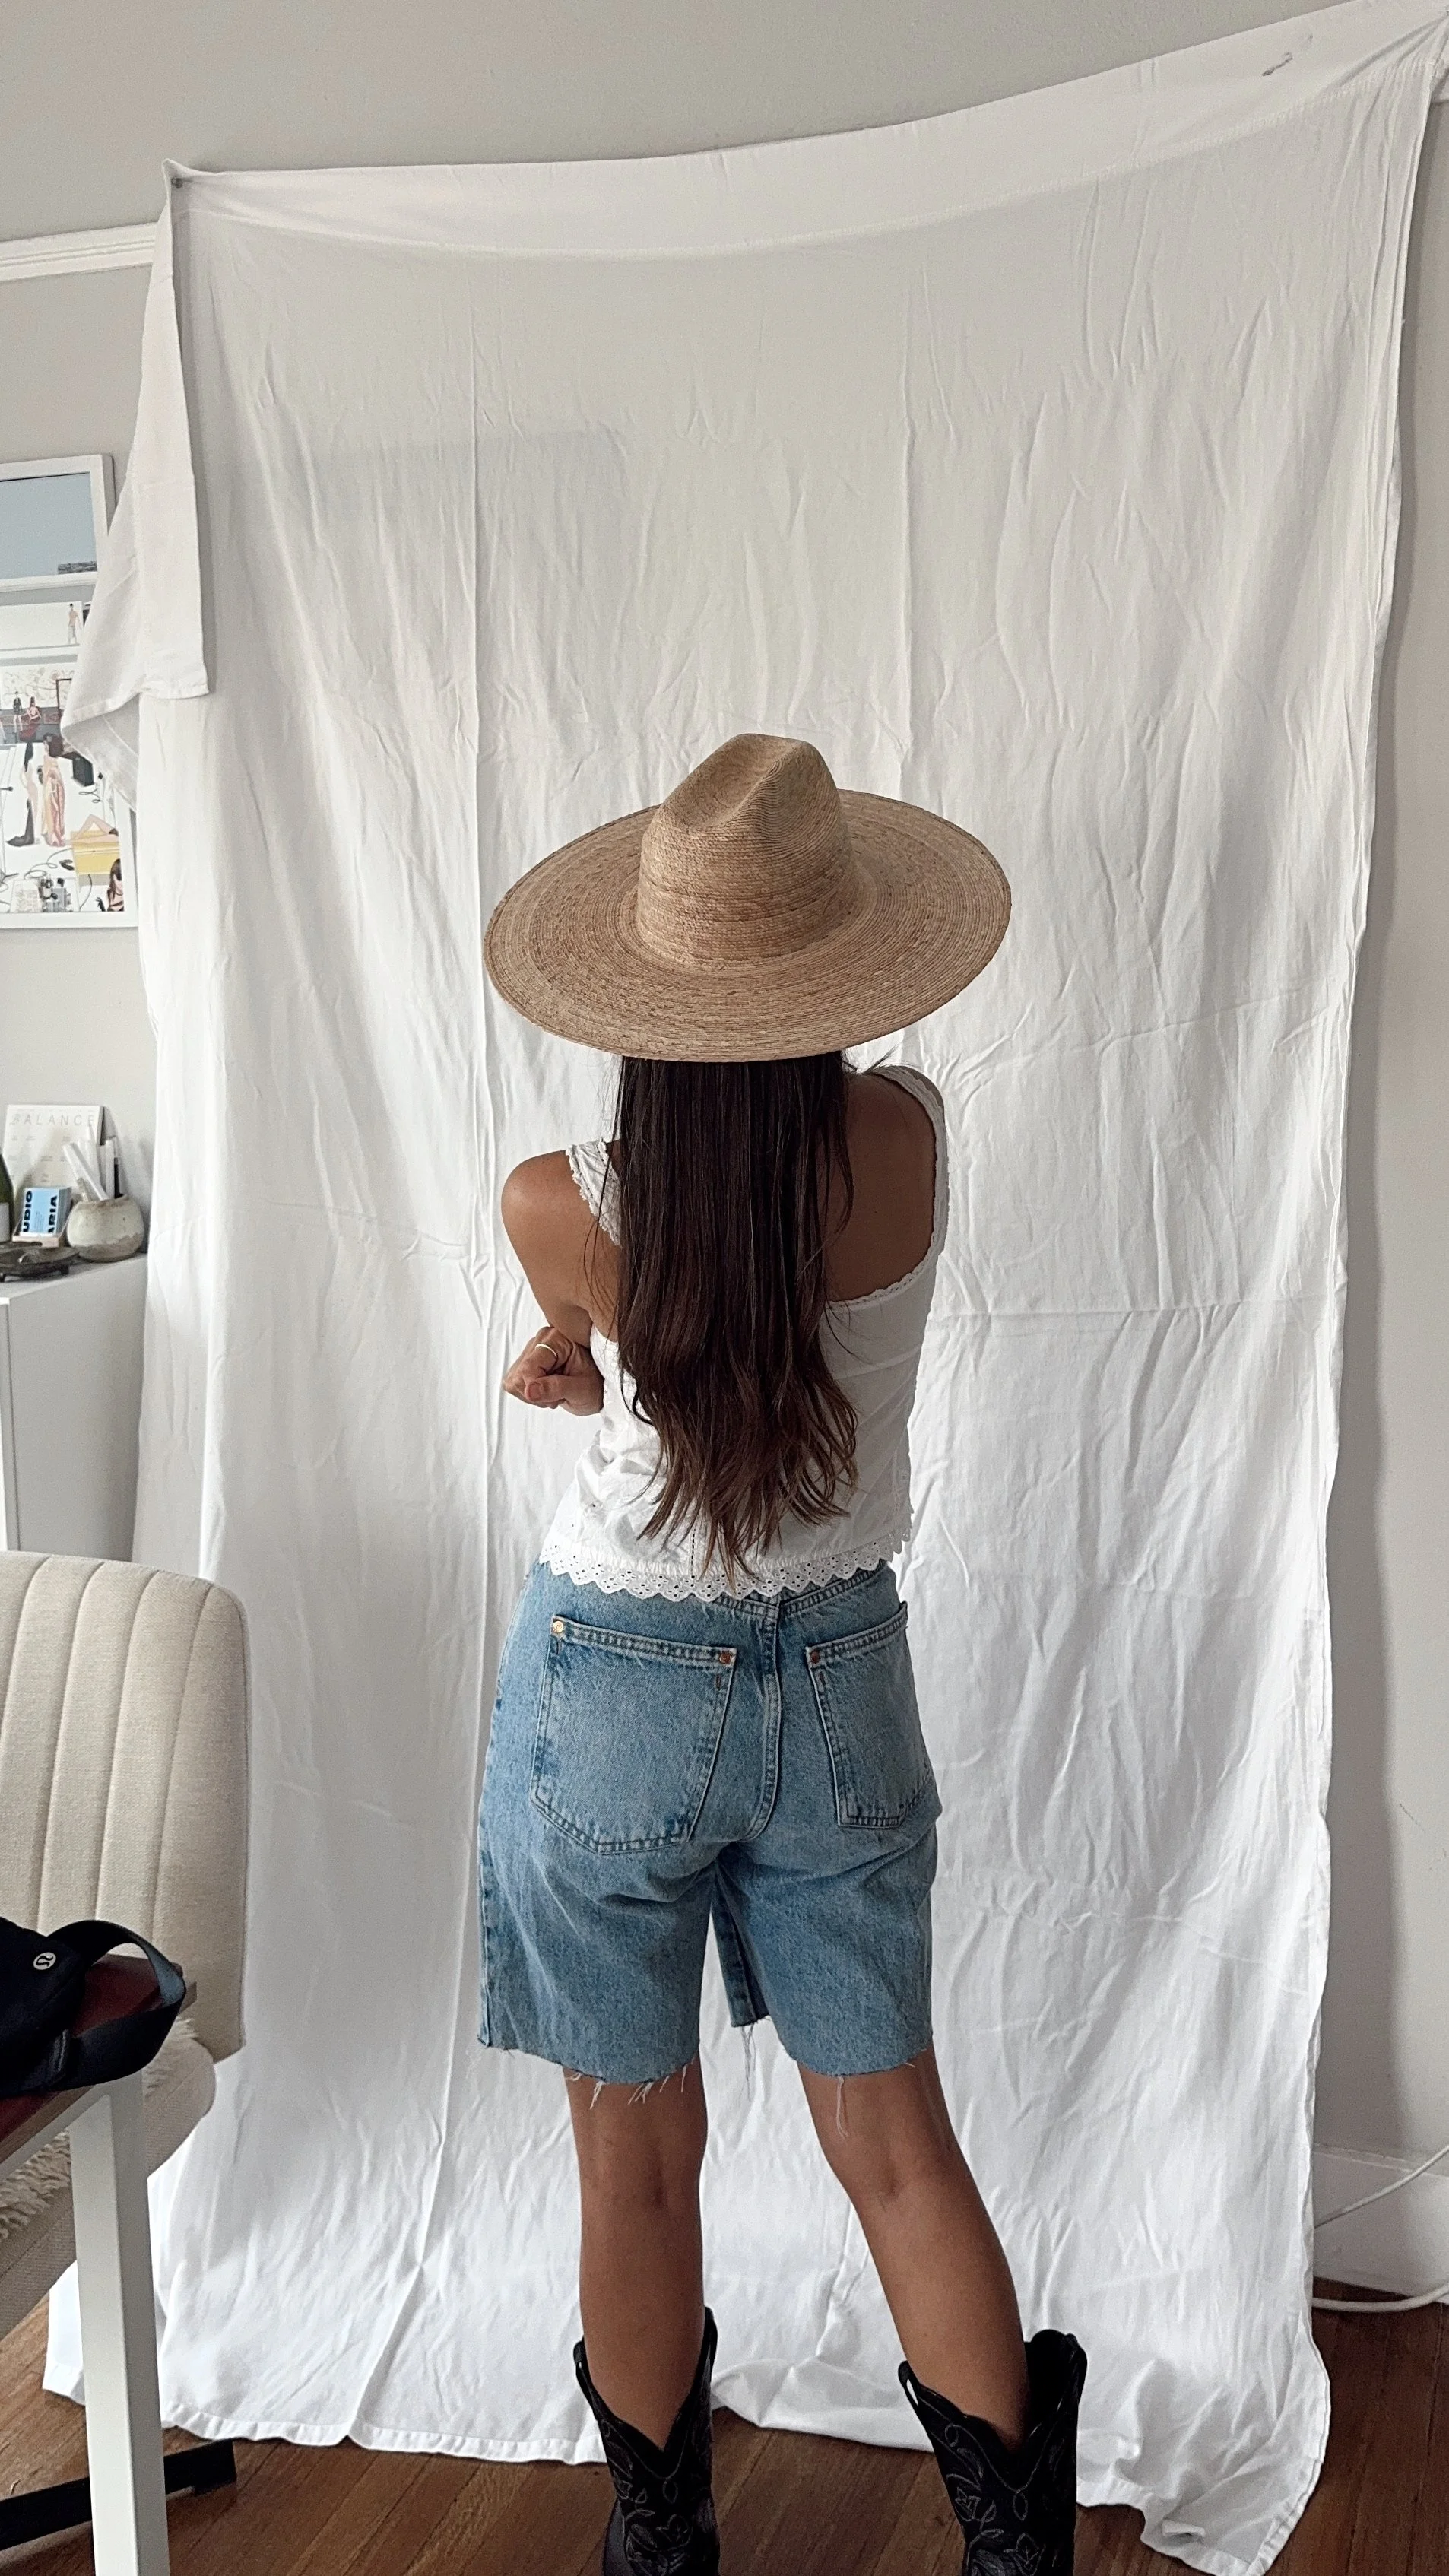
Step 5: Plan Your Looks and Props
One of the biggest mistakes in a content shoot is leaving everything looking the same. Simple outfit or prop changes can stretch your content much further.
Bring 2–3 outfits: Change your top, layer a jacket, or swap accessories.
Props matter: Coffee cups, laptops, notebooks, products, or even seasonal décor.
Keep it natural: Props should feel like part of your real life, not forced.
This small prep step means one afternoon of shooting can give you enough content to last weeks.
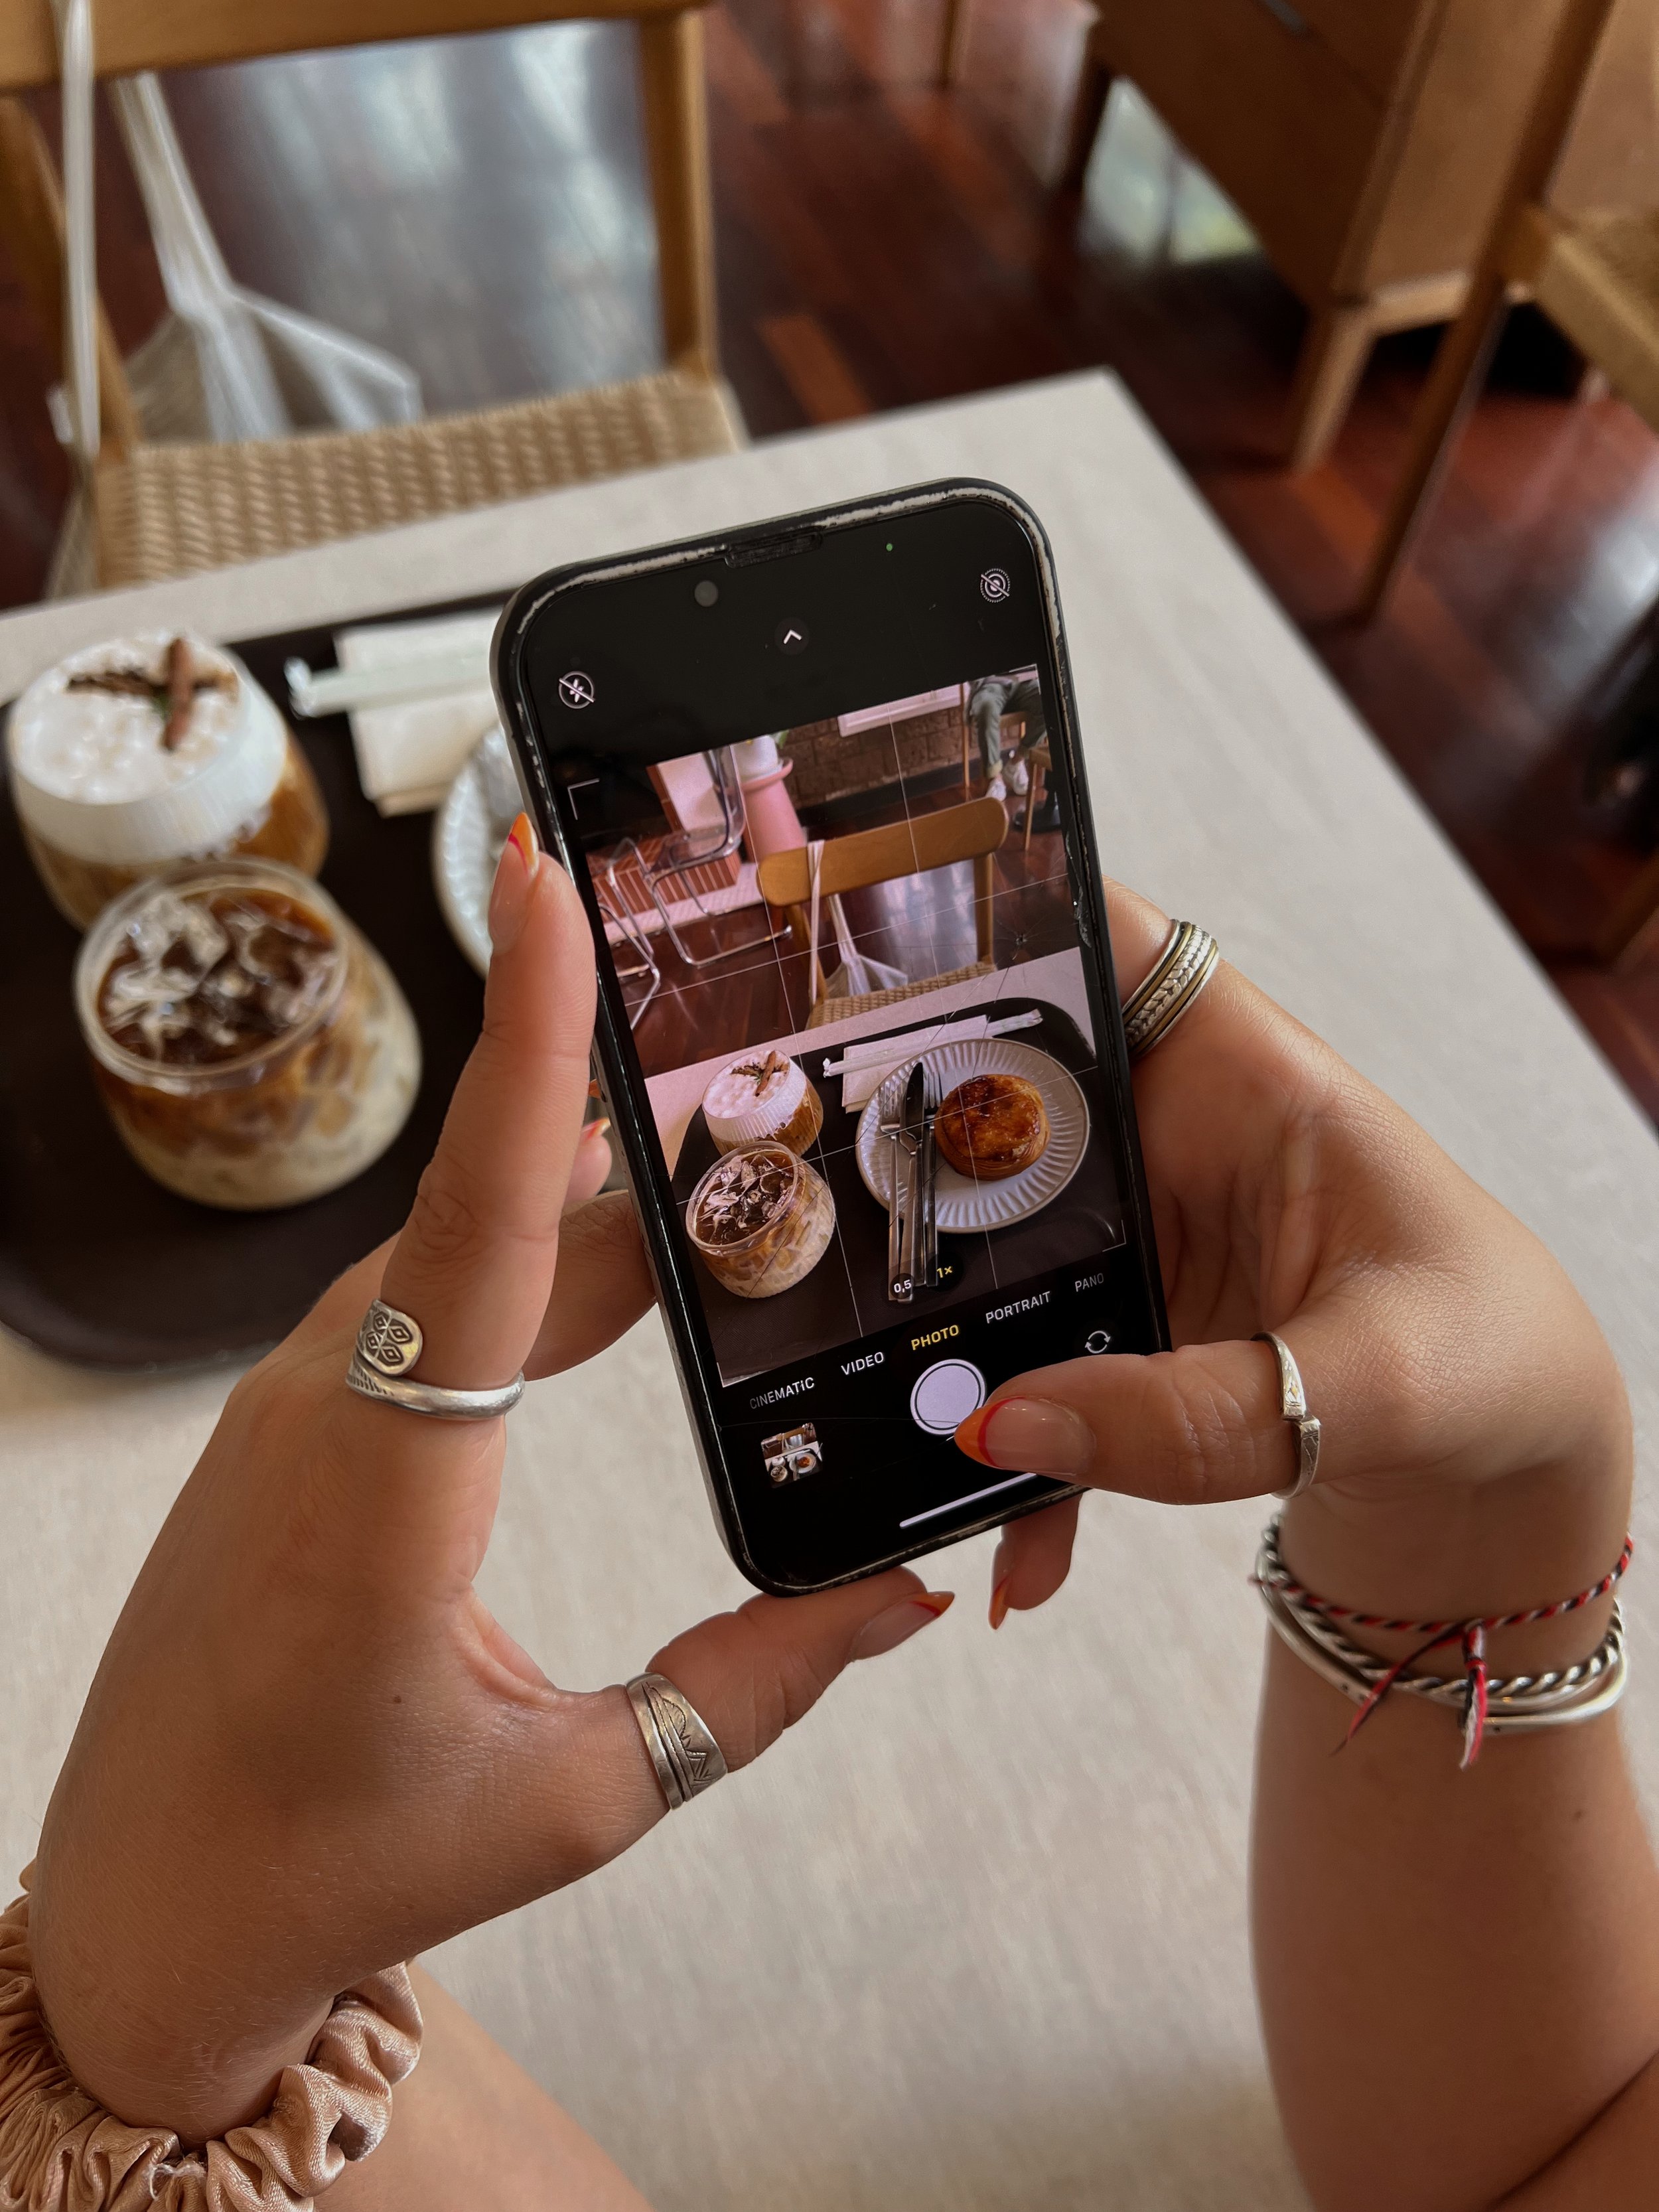
Step 6: Use the Right Tools (Hint: Your iPhone Works)
Don’t let gear stop you from creating. Most social media content today is shot on iPhones — and often performs better that way because it feels real, not overproduced.
What matters more than equipment:
Lighting – natural light is your best friend. Face a window whenever possible.
Angles – shoot both vertical and horizontal, but always prioritize vertical for Reels/TikTok.
Stability – a tripod or steady hand keeps things clean.
Editing apps – CapCut, InShot, or Canva make it easy to polish quickly.
Step 7: Batch Create During the Shoot
Think of your shoot as batching day. Instead of capturing one photo or video and calling it done, create multiple versions:
Film 3 takes of the same idea (you’ll be glad later).
Shoot both photo and video in the same spot.
Capture extra b-roll — you can always layer it with trending sounds later.
The more variety you build in one session, the longer your content lasts.
Step 8: Don’t Forget the Details
While it’s tempting to focus on big shots, the little details make content feel rich and personal. Grab close-ups of:
Hands writing or typing
Décor or seasonal touches
Smiles, candid laughs, and behind-the-scenes moments
These “filler” clips are gold when you need quick content between larger posts.
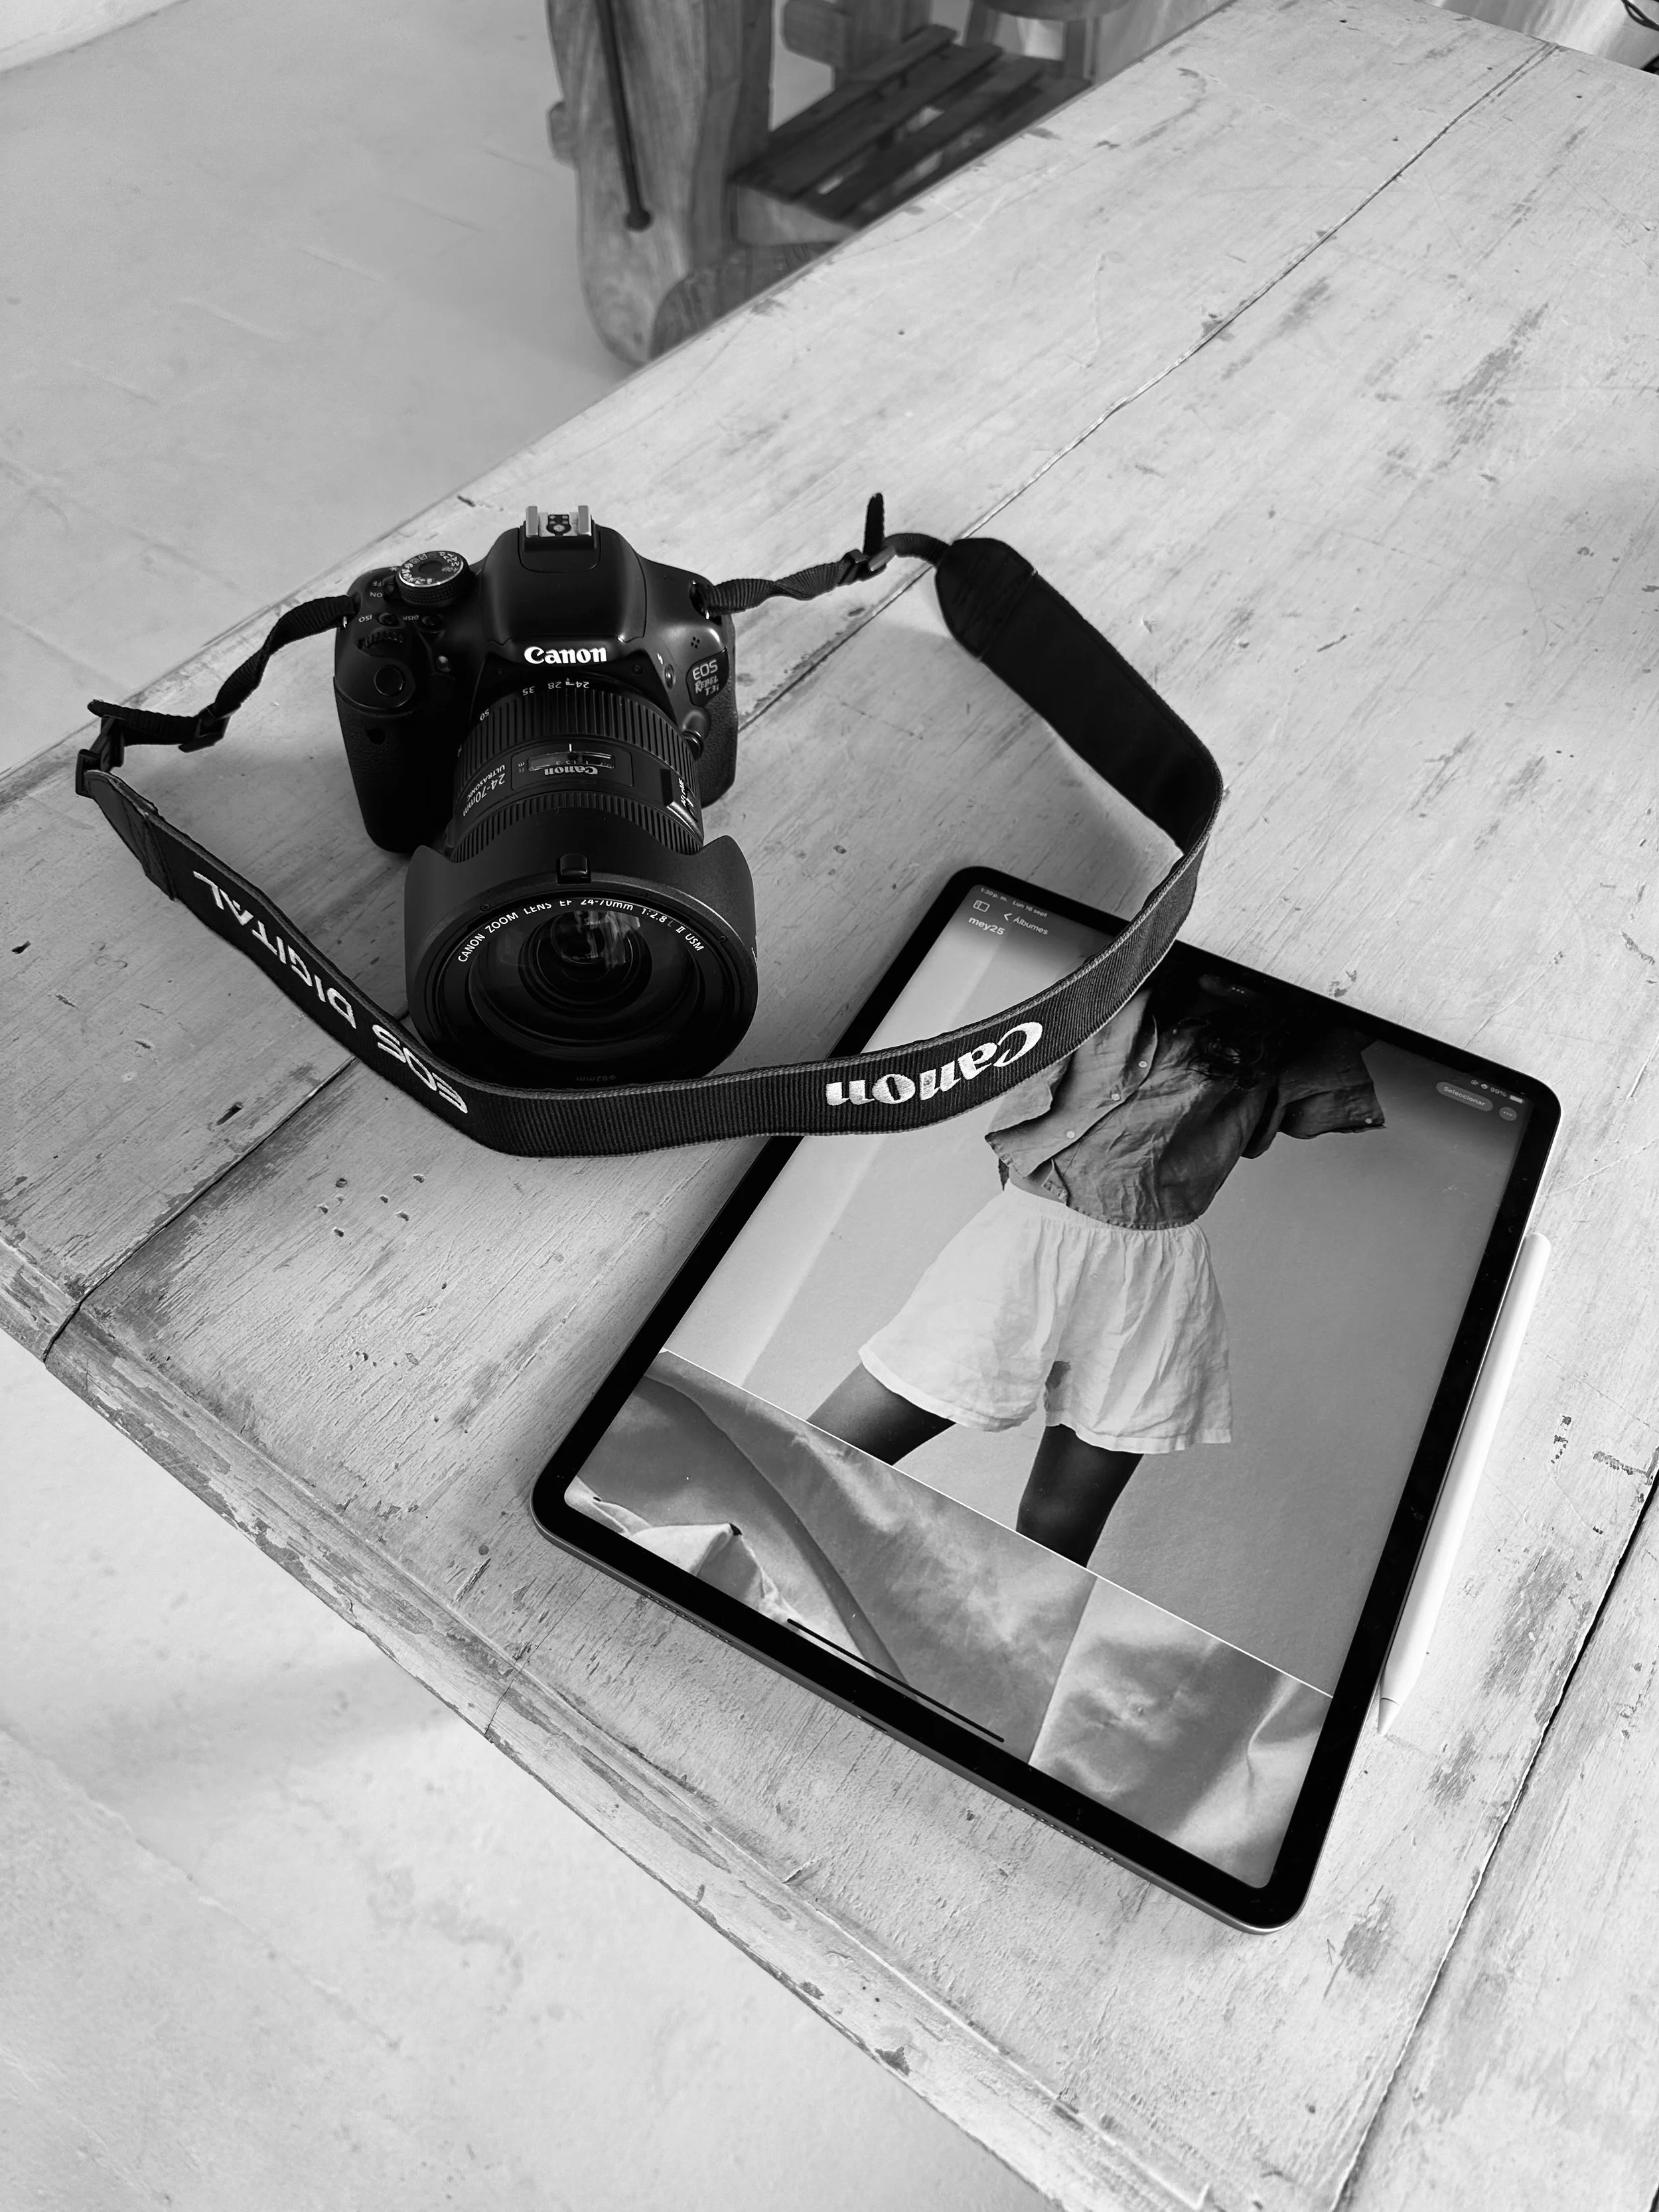
Step 9: Edit With Intention
Once the shoot is over, your job isn’t done. Editing is where raw clips become ready-to-post content.
Tips for easy editing:
Keep it short – 10–20 seconds is ideal for Reels/TikTok.
Add captions – most people watch without sound.
Stay on brand – use consistent colors, fonts, and styles.
Repurpose – one video can live on Instagram, TikTok, and even LinkedIn with slight tweaks.
Step 10: Schedule and Post Strategically
The final step? Get your content off the camera roll and onto your platforms. Use scheduling tools like Later, Planoly, or Meta Business Suite to plan posts in advance.
When scheduling:
Mix content types (educational, behind-the-scenes, personal, promotional).
Post times, your audience is most active.
Leave space for spontaneous posts too — the mix of planned and real-time keeps your feed authentic.
Why This Process Works
Planning a content shoot from concept to camera roll saves you:
Time – one shoot = weeks of content.
Stress – no more scrambling for last-minute posts.
Money – you don’t need expensive equipment or daily photoshoots.
Energy – you can focus on running your business while your content is ready to go.
Most importantly, it gives your audience what they crave: consistent, authentic, high-quality content that feels true to your brand.
A successful content shoot isn’t about fancy cameras or perfect editing. It’s about being intentional — knowing your purpose, planning your ideas, and capturing a variety of authentic content that reflects your brand. With just a few hours of preparation, you can go from a blank calendar to a camera roll full of photos and videos ready to post.

So next time you’re feeling overwhelmed by what to share, skip the scramble. Plan a content shoot instead. From concept to camera roll, you’ll thank yourself later — and so will your audience.
Book A Content Shoot with Alyssa
Ready to bring your vision to life? Book a content shoot with me, Alyssa, and let’s create a library of photos and videos that feel authentic, strategic, and true to your brand. Whether you’re a business owner, a couple planning your wedding, or a creator building your presence online, I’ll make the process easy, comfortable, and fun. Your story deserves to be captured — let’s get it scheduled.

Free Wedding Content
Shot List
Get a free downloadable shot list to use as a checklist during your wedding day.
KEEP READING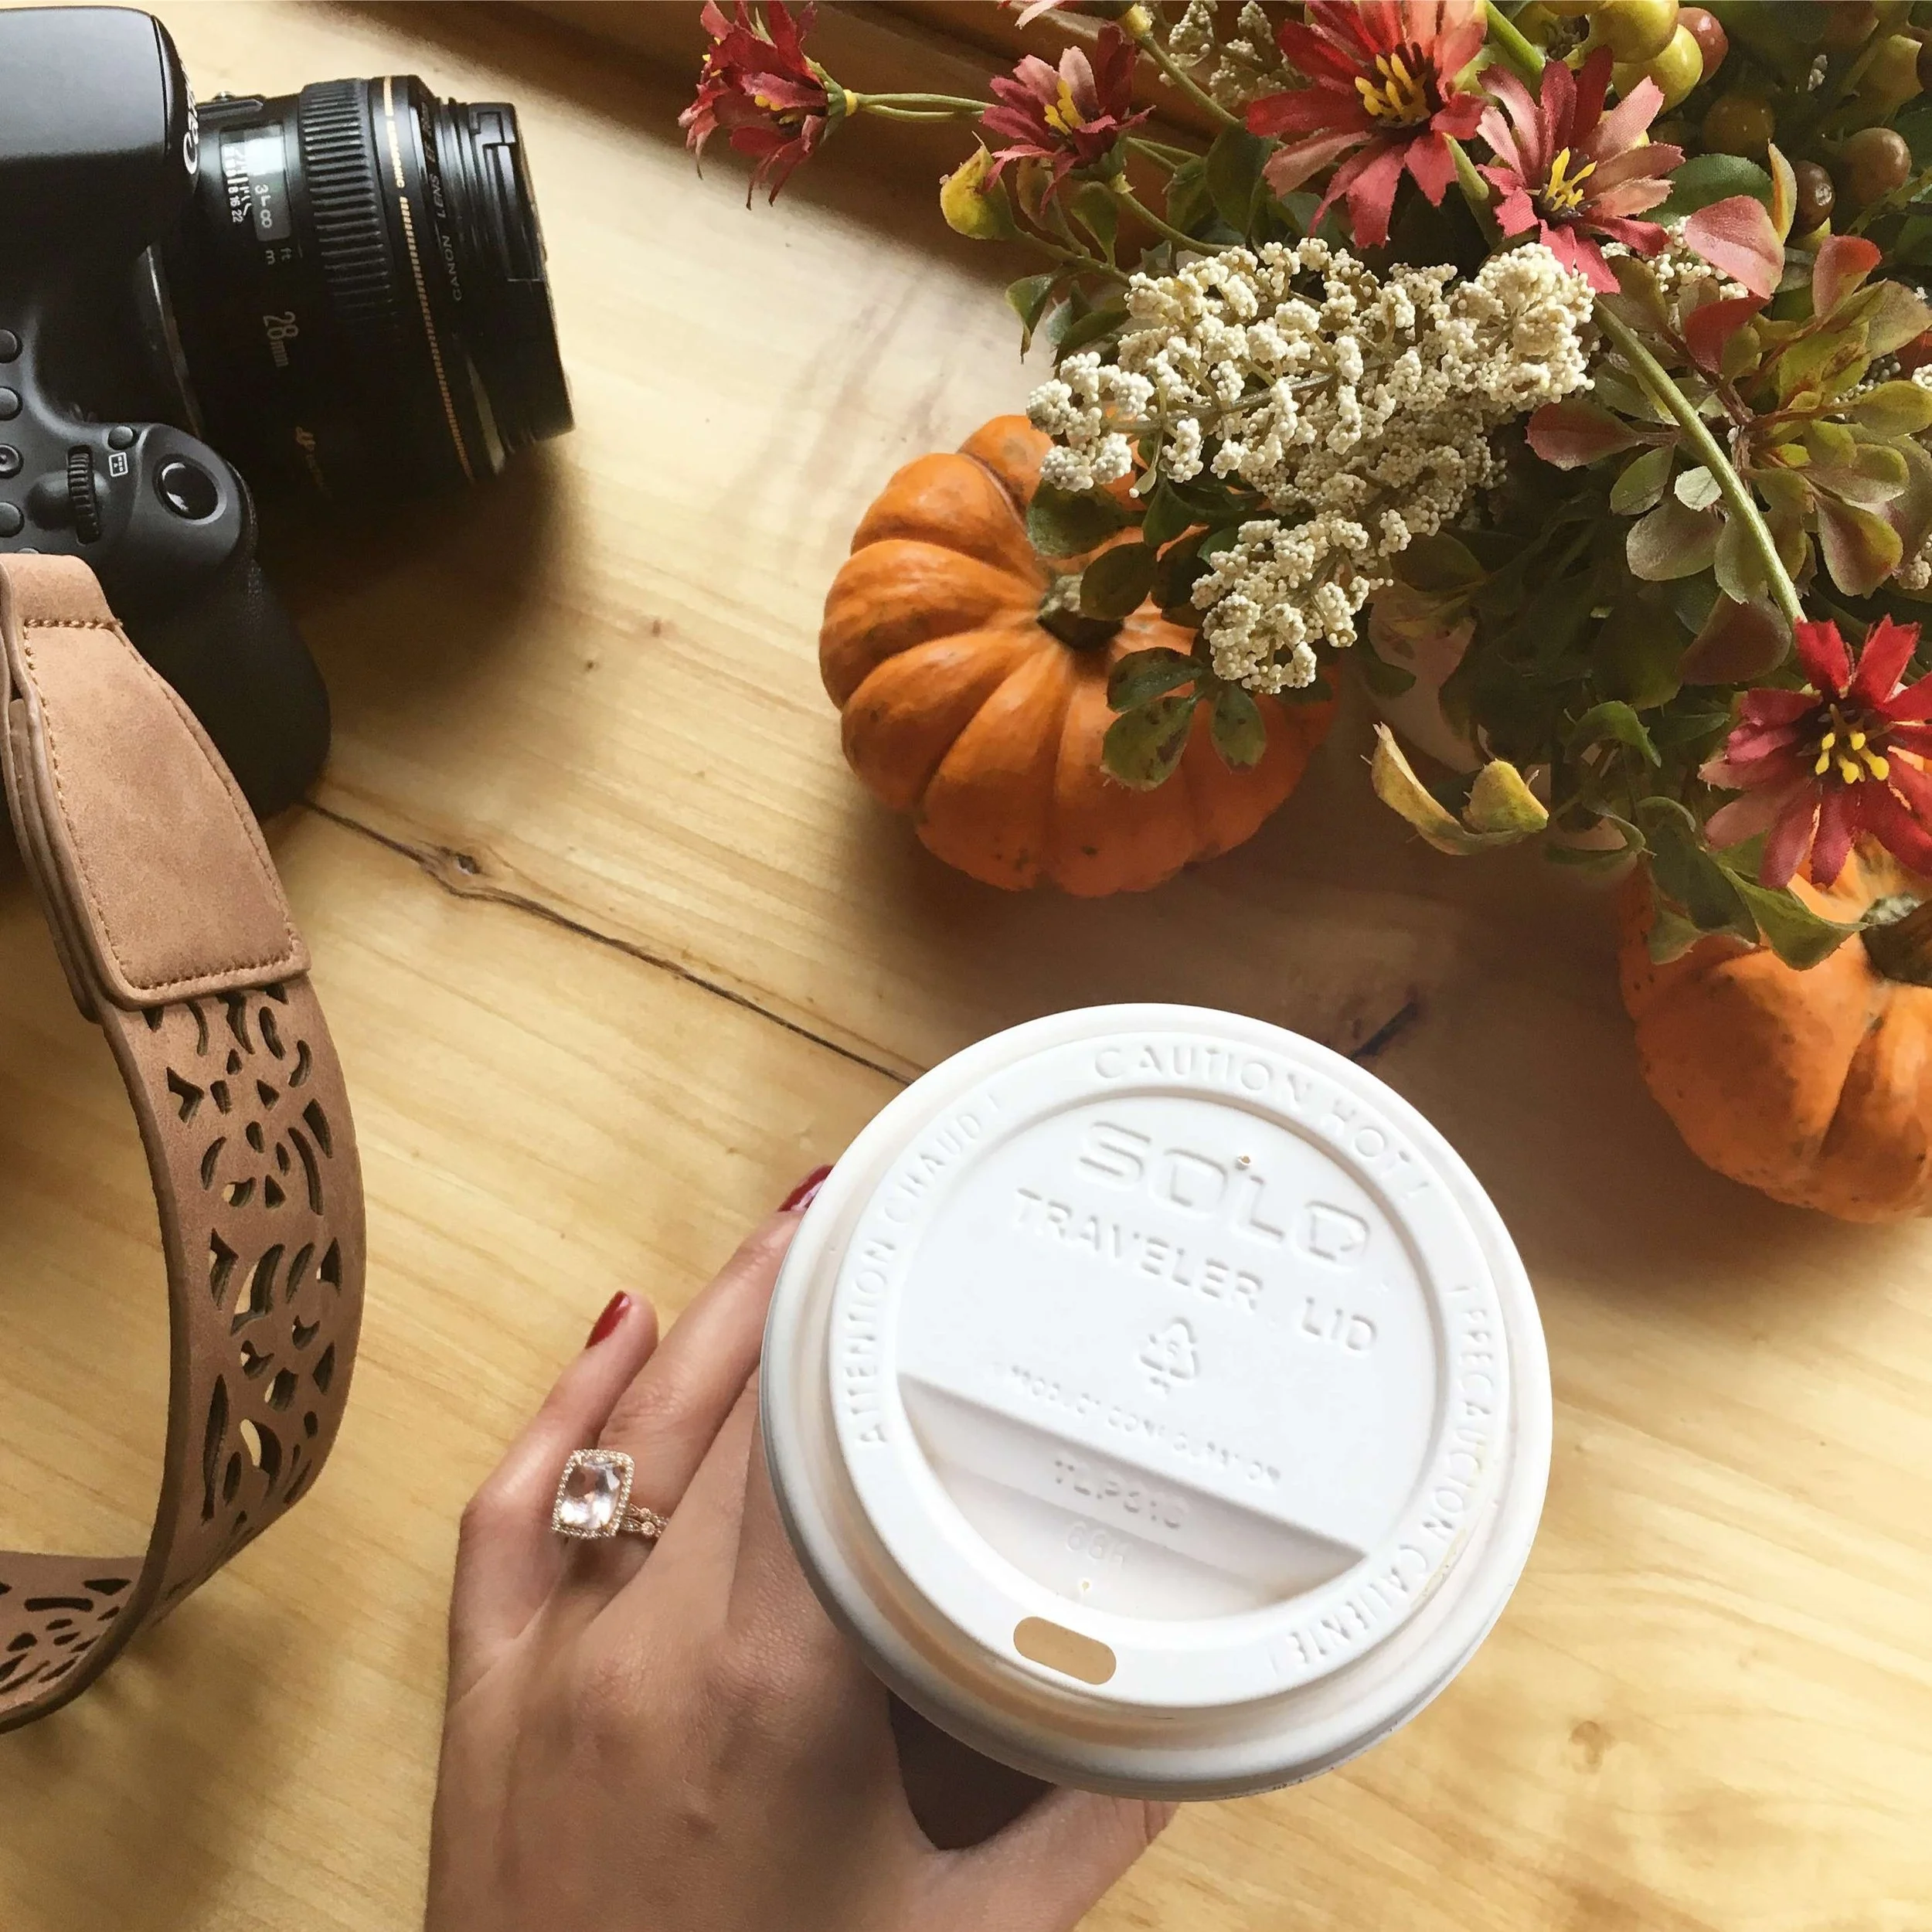


TOP CATEGORIES


MY FAVORITE POSTS


